
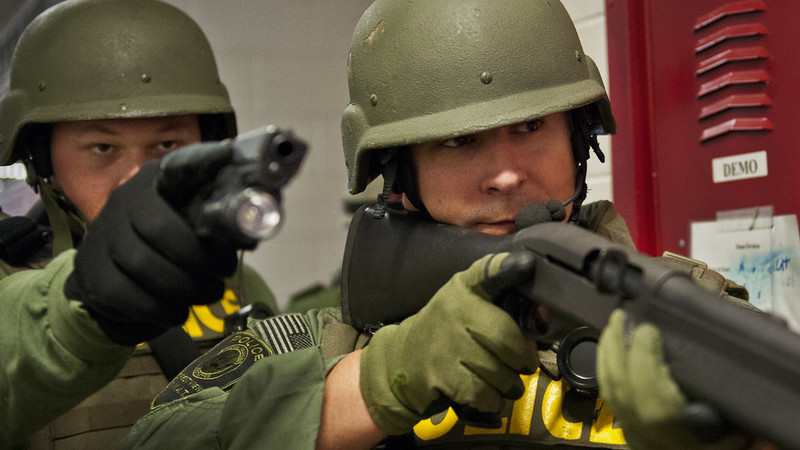
Repeat after me. “No Place is Safe!”
Over the years, we’ve seen a rise in active violence, both criminal and terrorist. Places such as schools, churches, community centers, sporting events, public transportation, and other areas with large populations have fallen prey to those seeking to harm others.
If you are in such a situation, you need to know what to do – AVIRT.
In 2020, we started AVIRT, Active Violence Immediate Response Training. We train ordinary people to do extraordinary things, such as becoming immediate responders.
An immediate responder is different than a tactically trained first responder. The average response time to an active violent situation can range depending on the location, traffic congestion, number of patrols on the road, and more. Statistics have shown that the average active shooter incident is terminated within 15 minutes. When an active shooter is on a rampage, injuries and deaths can happen at a moment’s notice. How people respond can make a difference between life and death.
Here are some key areas you need to understand when it comes to an active-shooter and what you, even if you are a civilian, can do about it.
Situational Awareness
All too often most people are always on their phone. Checking their social media, text messages and more. This distracts them from keeping their head on a swivel. Jeff Cooper created the color codes of awareness and the NRA has 4 stages of situational awareness. Situational awareness requires you to maintain 360 degrees of observation. Many of us know what looks and what doesn’t look like normal behavior. One of the things you should do is look for what’s called pre-attack or pre-incident indicators.
It is my hope that you never have to deal with a violent situation. Would you know what to look for prior to an attack? Knowing what to look for prior to being attacked is vital and takes some situational awareness training. By definition, a pre-attack indicator is an involuntary and non-behavioral outward manifestation of physiological indicators. If you notice a single pre-attack indicator it might not mean anything, but noticing several indicators should put you in alarm mode and you must be ready to act. So, what are some red flags or pre-attacker indicators and what do they look like. The following is a short list of pre-attack indicators.
- Profuse sweating
- Rapid/Shallow breathing
- Dilation of the pupils
- Flared nostrils
- Trembling of the hands and/or knees
- Flushing
- Agitation
These indicators could be a result of things they do not relate to pre-attack indicators and have non-violent reasons. However, it is my mission to share with you some simple signs of what to look for. Now that you know some basics on pre-attack indicators let’s dive deeper into this subject. It’s important to recognize some Physical Behavior Indictors.
Those with bad intentions tend to do the following:
- Avoid eye contact: Though in some cultures it is disrespectful to make eye contact, avoiding eye contact is a way for individuals to convince themselves that you are not a real person. It is possible that they have a sense of guilt for what they are about to do so they can’t bring themselves to make eye contact with you.
- Fist clenching and/or pumping: In their mind they are visualizing the violent act and subconsciously their hands start to clinch into a fist and their hand looks like it’s squeezing a ball.
- Posturing: Some people will puff out their chest and posture like a peacock. They are using their body language to intimidate you and instill fear.
- Bobbing and/or Rocking: The act of bobbing and rocking helps decrease stress by stimulating the vestibular system. Meaning, they could be trying to calm themselves down prior to a sudden attack on their part.
- Hiding their face: This can be done by wearing sunglasses, hat, disguise etc. Obviously, criminals don’t want to be recognized or be recognizable. Sometimes they might try to hide their face by having a newspaper or magazine in front of their face. Faking a yawn or sneeze so that their hands are over their face is a common tactic.
- Focused Attention
- Scanning: This allows the bad guy to see if there are witnesses, cameras, checking for avenues of escape, etc.
- Overt/Verbal Threats: The individual outright states they are going to do harm. If they claim they are going to shoot you attempt to scan them for printing (outline of a firearm).
- Body blading: They are positioning themselves to attack. Normal people do not blade their body when talking with people. You’ll notice that most people will stand full facing in front of you while having a conversation. Body blading is preparing for action.
- Tactical maneuvering: This sounds odd but most people when walking from point A to point B walk in a direct path. If you notice people walking or driving awkwardly, they are trying to maneuver in a fashion that attempts to hide their intention. Another example is the individual blocking doors and exits. We all can notice normal behavior from abnormal behavior. Watch-Listen-Adjust!
- Hesitation in response
- Non-compliance: This usually happens when someone has a plan to do something. You could ask them to do or not to do something. If it interferes with their bad intentions, you’ll notice non-compliance in their verbals and non-verbals.
- Readying for Action (removing jewelry)
- Furtive Communication (using a foreign language or hand gestures)
Once you’ve learned to recognize their signs, you’ll be able to easily forecast a potential threat.
Bleeding Management
Many active shooters use pistols, rifles, edged weapons, explosives, and other weapons of opportunity. The average person has approximately 5 liters of blood and can still live if they lose as much as 40% of their blood. This can only happen if people know how to identify and stop life-threatening bleeding. As many of us may know, a person can bleed to death as quickly as 3-5 minutes and that’s with a sustained heartbeat. When violence is happening, and the heart is beating faster, a victim could bleed to death within 30 seconds. Learn basic wound packing and tourniquet use, it is not as hard as it sounds. Even a quick lesson can make the difference between life and death. We can help with that.
Cover and Concealment
Many people “think” they know what cover and concealment is. However, when the sh** hits the fan, they try to find cover in locations that are actually concealment. Let’s take a moment to simply the definition of both cover and concealment. Cover is protection from enemy fire. These objects have the ability to stop bullets. Items such as a vehicle’s engine block, a book shelf filled with books provide layers of protection, and concrete bricks. Concealment is simply protection from enemy observation. This includes hiding behind doors, under desks, using darkness, and hiding in high vegetation (bushes). It is highly encouraged that you locate areas of both cover and concealment. This is for two reasons.
- Reason 1: You’ll know where to go depending on the threat.
- Reason 2: Those locations could also be where the active shooter uses to cause harm to others.
Defending a Room
Upon getting notified or witnessing an active shooter incident, you and your team (co-workers or family) should immediately find the nearest room. Lock the door immediately and immediately turn off the lights! Instruct your team to silence their cell phones so that you have some form of noise discipline to go along with your light discipline. If the door is an inward swinging door, find something heavy to block the door. If there isn’t any heavy furniture, use a binder to wedge the door or use a belt or tie and tie it around the arm mechanism at the top of the door. You should have people stand on each side of the door if it’s possible. This might be difficult depending on the door and the room. However, having someone ready at the door is vital in the event an active shooter enters the room.
Attack and Defend
If an active shooter enters the room you are staged in, you must ATTACK the active shooter. This includes throwing objects at the active shooter. If anything, it will cause minor pain and a mental distraction which would manipulate their O.O.D.A. loop. Individuals at the door should attempt to disarm the individual while other personnel work as a team to strike vital targets such as the nose, eyes, and groin. Additionally, the team should work together to take the active shooter to the ground and control the limbs. Most importantly, search for secondary weapons such as another firearm or edged weapon.
When law enforcement arrives on the scene, they will be in a heightened state. They were told a person with a weapon was shooting people at a particular location. Upon law enforcement entering the room or building, ensure you do not reach out to law enforcement even to show gratitude. If you do, expect to be pushed away as their priority is to locate the active shooter and terminate the incident. Approach law enforcement with your hands in the air and follow their instructions. Most organizations have an emergency action plan (EAP). In the EAP, there might be a specific location for employees to rally to for accountability and to do what we call a D.I.M. report (dead-injured-missing). Also, law enforcement might need personnel to stay so they can obtain witness reports.
For more information about Active Violence Immediate Response Training (AVIRT), go to https://hsi.com/solutions/active-shooter-training.
Michael Munyon is a retired Security Forces Master Sergeant, Advanced Defensive Tactics Instructor, Executive Protection Specialist, NRA Firearms Instructor, Martial Arts Grandmaster, 9 Time Martial Arts Hall of Famer, author, ILEETA member, Police Martial Arts Institute USA President, and is a member of the HSI/AVIRT National Training Solutions mobile training team.

Comments